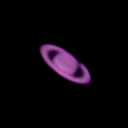
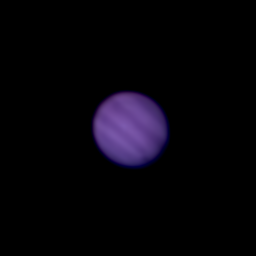
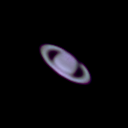
I really enjoyed the experience and wanted to observe more. Being in a rather light polluted area, I can only observe the moon and planets and with this cheap telescope I had quickly looked at everything that I could. I always wanted to see Saturn's rings with my own eyes (I know its cliché, but it is what it is) so I started looking for a better telescope. Someone I know owns a telescope and was kind enough to let me borrow it. It was not in perfect condition, but good enough for a beginner. I was really happy with the new scope; I could see the rings of Saturn and a much better view of Jupiter and its moons. I now wanted to capture what I saw in the scope with a camera, so I started researching astrophotography.
Most of what I found was galaxy and deep sky imaging, which turns out to be a very technical skill, using a bunch of expensive tools and software. Yet, when narrowing my research to planets, a bunch of people could get pretty good images using webcams. The only camera I could mount on the telescope at the time was a Raspberry PI infrared camera(PI NOIR). To test the rig, I made a cardboard mount for the camera and the PI. The "mount" worked better than I had expected, so I kept it and and installed a web interface to access the Pi. I could now see through the telescope and control the camera with a laptop.
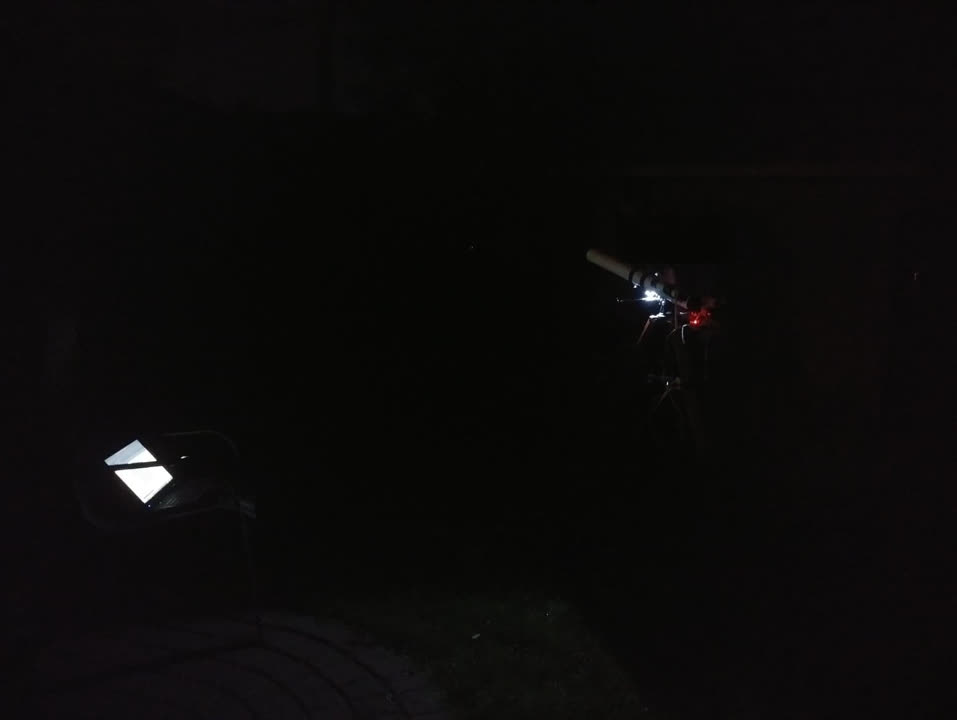
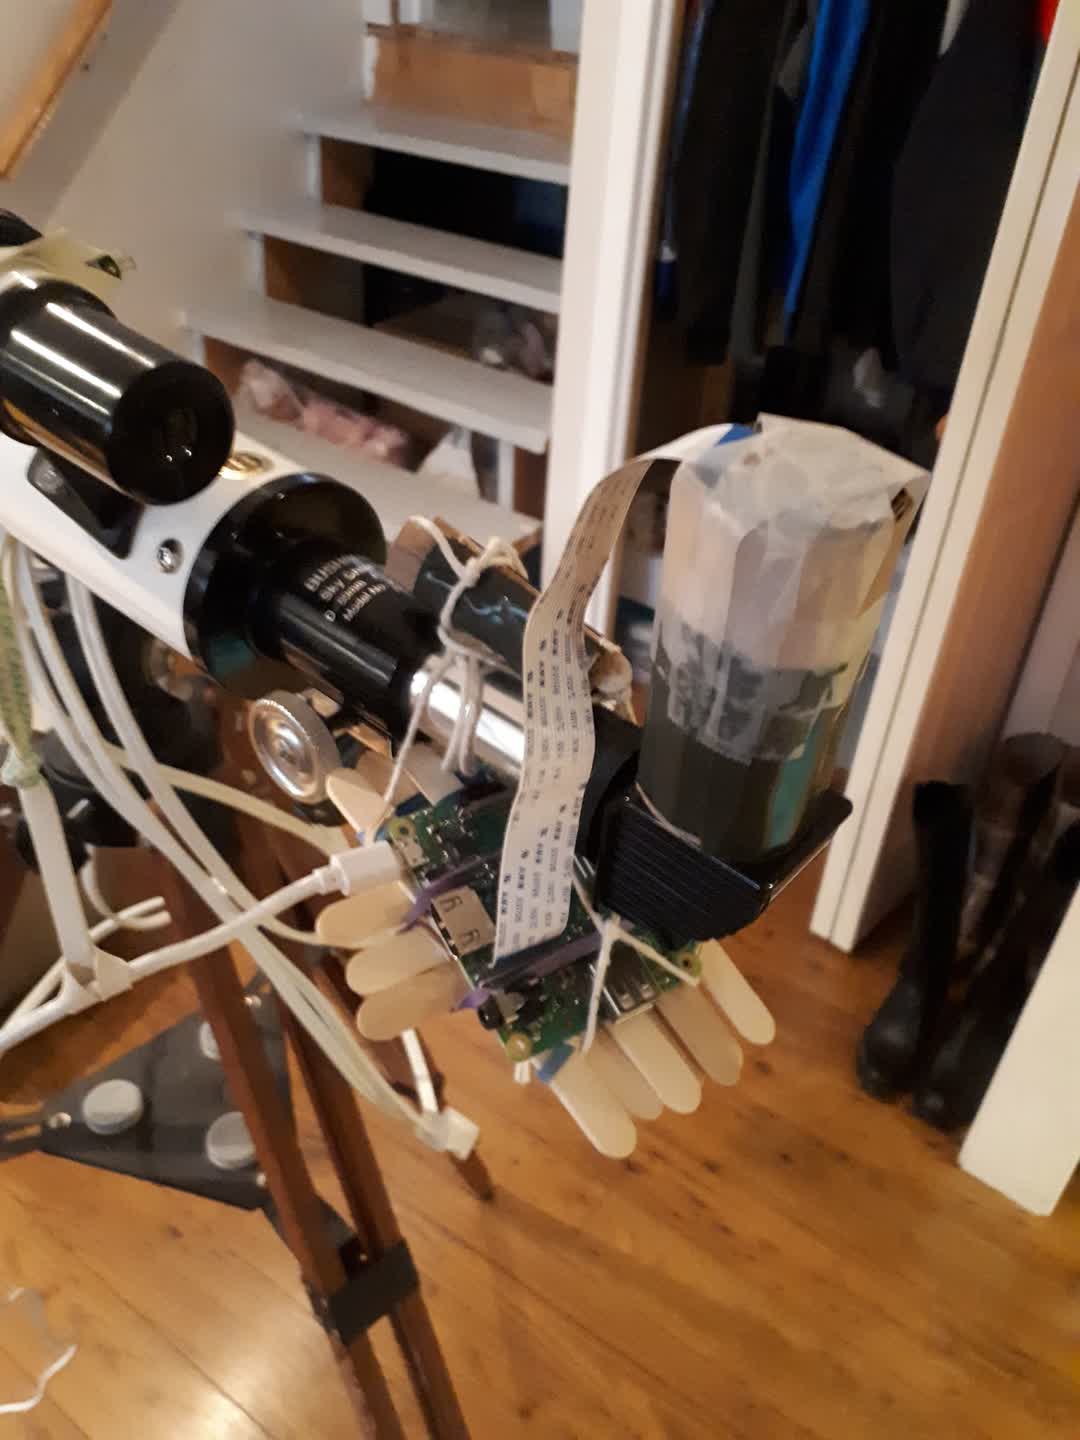
While doing my research, I learned about stacking pictures, which is a commonly used technique in astrophotography, to reduce atmospheric perturbations and noise which degrades picture quality. Although one of the axis of the telescope's mount was not working properly, I was able to follow the planet by hand while taking a video with the camera. I extracted all the frames from the video as images to stack them. I found this really helpful tutorial, which I followed closely:
Here are the results. The video is two excerpts of the long video from which I extracted the frames. The first image is a raw frame, while the two last images are stacked images. This shows how important the stacking process is to improve image quality:
